Hi! I just thought it would be polite of me to stop by and say hi. I didn't plan to take a break from blogging, it just happened. I used to blog during nap time. But nap time is too valuable to spend online. I need to work out, spend time with my non napping child, swim in the pool and get this place ready for some company. We have family coming in from both Texas and Sweden soon and I'm so excited!
I also am playing around with different ideas of how I want to continue blogging. Having two blogs isn't really working for me (duh, can't even keep up with one) but I don't want to abandon either one. We'll see what happens.
I hope you all have an amazing summer. I might pop in here a couple of times. Maybe... Or I might just hang by the pool. I will be back though, eventually.

Wednesday, June 22, 2011
Saturday, April 9, 2011
T(ea) is for Thank You
It was teacher appreciation day a couple of weeks ago at E's school. She has amazing teachers and I wish I could've spent more on them to really show how much we appreciate them and all they do. But until two of our apartments start to bring in rent again I'm pretty much on a zero dollar budget. So I went looking for things we already have at home. I know, how bad did that sound. Kind of like regifting. But these are the times right now and I thank my Lord He made me crafty and imaginative.
I love tea. I'm a big tea drinker and I have a lot of different teas in my pantry. So I came up with "T(ea) is for Thank You". I was so excited and jumped online right away to look for directions for this envelope kind of pocket thing to make for all the tea. I found something much better! A paper cup tutorial. I mean, how cute did they turn out, if I may say so myself.

Here are some of the teas in the cups. I must admit that scooping up loose tea into the little plastic bags made me feel like a drug dealer. Well, not really of course, but the thought hit me as I looked at my little bags laying there on the table. "Here Mrs X, thank you for dealing with my kid. I'm sure you need to relax a little after being around all the three and four year olds..."
(Ok, can you tell it's past my bed time?)

We did write real thank you notes and E drew pictures of her and her teachers together. I also wrote down word for word what she had to say about her teachers. It was so cute! We rolled them up into little scrolls and attached a hemp ribbon and a tag so it looked like the end of a tea bag. I did take a picture of them with my camera but it came out really blurry and not even picnik could do anything about it. (I had good pictures on my iPhone, but we all know what happened to them, don't we?)
Anyway, if you would like to make your own cups you can find the tutorial here.
And here's one final shot of the cups.

Thursday, March 24, 2011
It could happen to you. You never know. Not even if you have a crystal ball...
Yesterday Mr Hubster and I were watching Fox News and there was this lady and her name was Krystal Ball. Kid. You. Not. I took a picture of the TV screen of her and her name with my iPhone and went to upload it to facebook. But it wouldn't let me update. And then I remembered that I've had this problem for a long time now. I really wanted to post the picture (with the comment: "Do you think she ever foresaw herself being on the O'Reilley show?" Clever, right? Just wish I'd thought of it. But it was all C.) so I googled my problem and I wasn't the only one it had happened too. Plenty of people swore that if you only deleted the fb app from your phone and then reinstalled it it would work. Sounded easy enough. But is there ever such a thing as easy? In the middle of the download my phone froze. What do you normally do when there's a problem with your iPhone? You turn it off and then you turn it back on again and the problem is fixed. Not this time. It would not turn back on properly. I was stuck with a cute little apple on my screen and that was it. C search around for info on how to fix this and found the answer. Not the one I wanted to hear, though. It had to be re... whatever the word is when you take everything away and start all over. From the beginning. Losing all your info. Yep. It was that bad. (And everyone with this problem had it happen because of the fb app.) But anyone with an iPhone know that you're supposed to sync it up so your info is saved. Well, last time I did that was in NOVEMBER. That's a lot of pictures, bookmarks, videos, contacts etc ago. Luckily I uploaded my pics to the harddrive three weeks ago so I only lost three weeks worth of photos. Still sucks! I was up until 2am restoring my phone. Putting on apps, organizing folders etc. Needless to say, I will do that syncing thing at least weekly from now on. And you should too!
Well, no blogpost should be without a picture and I wish I could post the picture of Krystal Ball. But that's obviously not possible so here's an unedited picture from my regular little camera of something I found on the floor a couple of days ago when it all of a sudden got very quiet around here.

Just because I need something to smile about right now.
Have fun syncing up!
Tuesday, March 22, 2011
What hole?
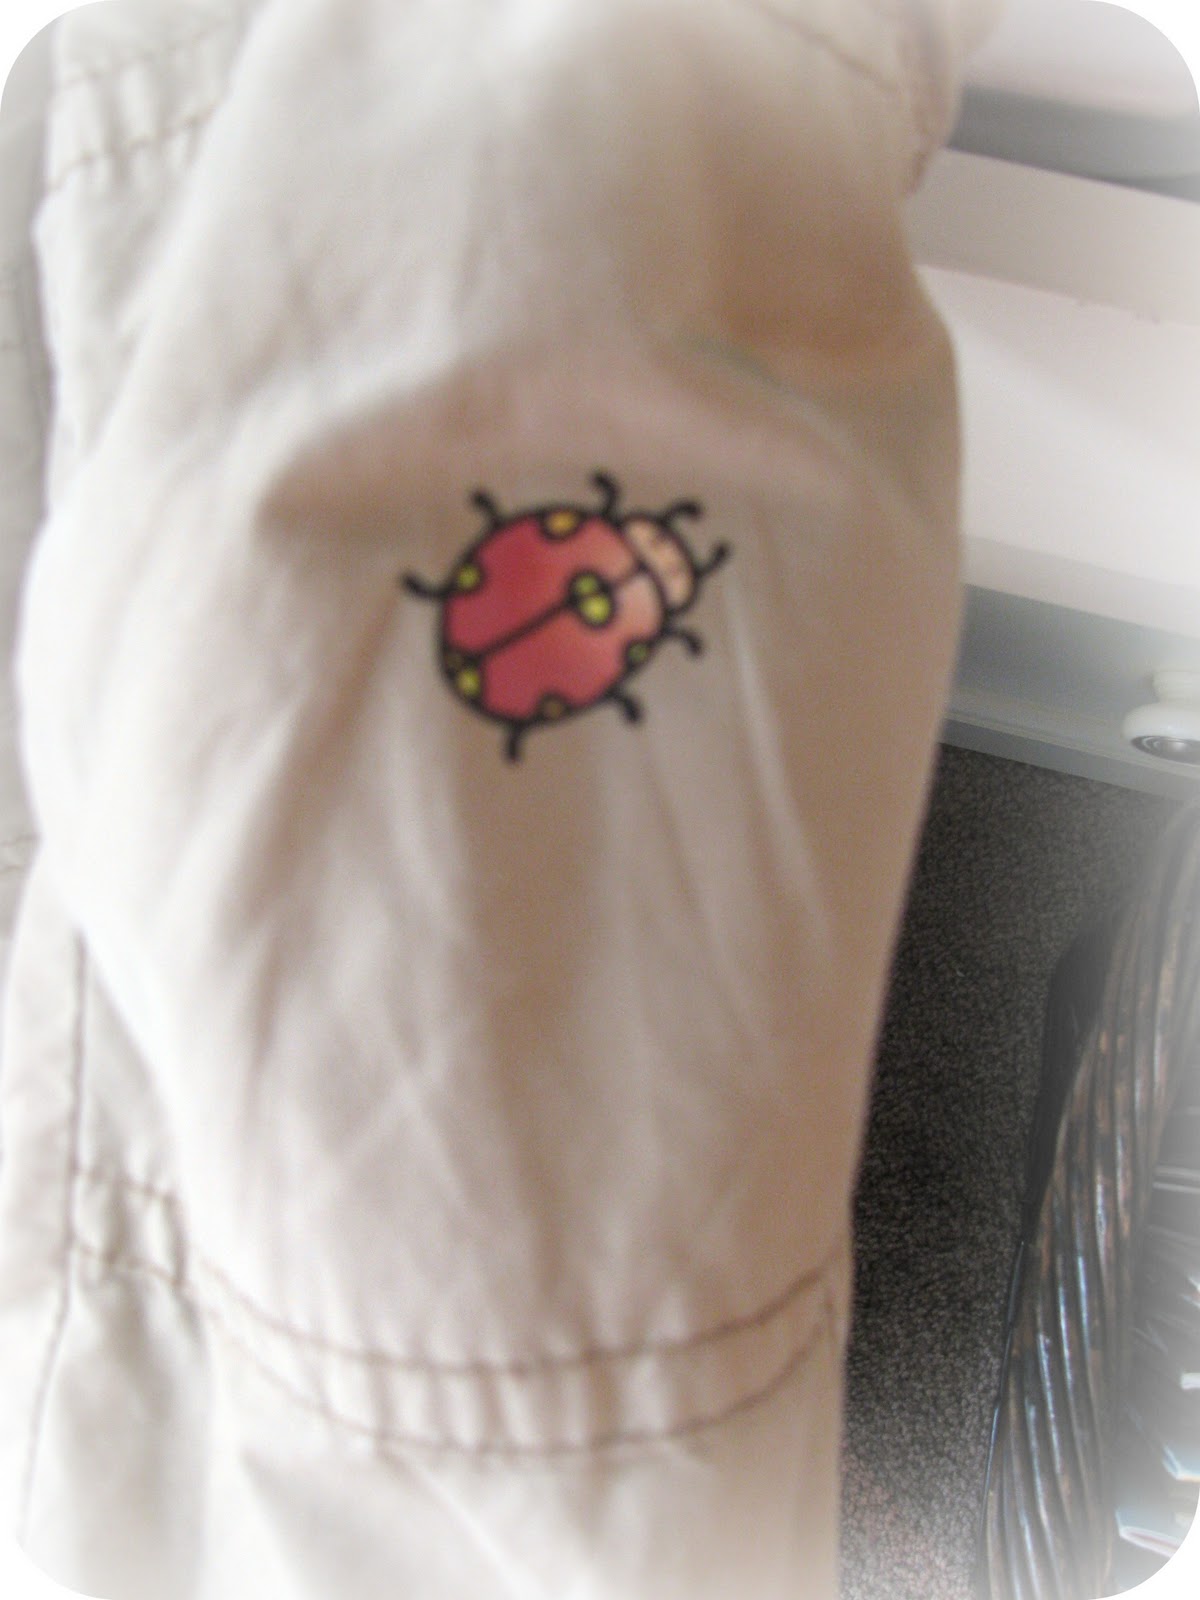 My mom sent me these iron on stickers called "täck en fläck" (cover a stain). They're great if your kid has a stubborn stain on a favorite piece of clothing. You just iron on a sticker and they can wear it again.
A few weeks ago I was looking through the clearing rack at Old Navy, looking for pants for E. I would never pay full price for everyday pants for her since they only last a few months and then she outgrows them so the clearing rack is my friend. This day I found a pair of super cheap pants! They had a tiny hole on one knee, but there was double fabric and the hole was only on the first layer so I figured I could fix that with one of the iron on stickers. And guess what? It was sew easy! And it worked out great. You can't see the hole at all and I think the pants are even cuter now. See for yourself...
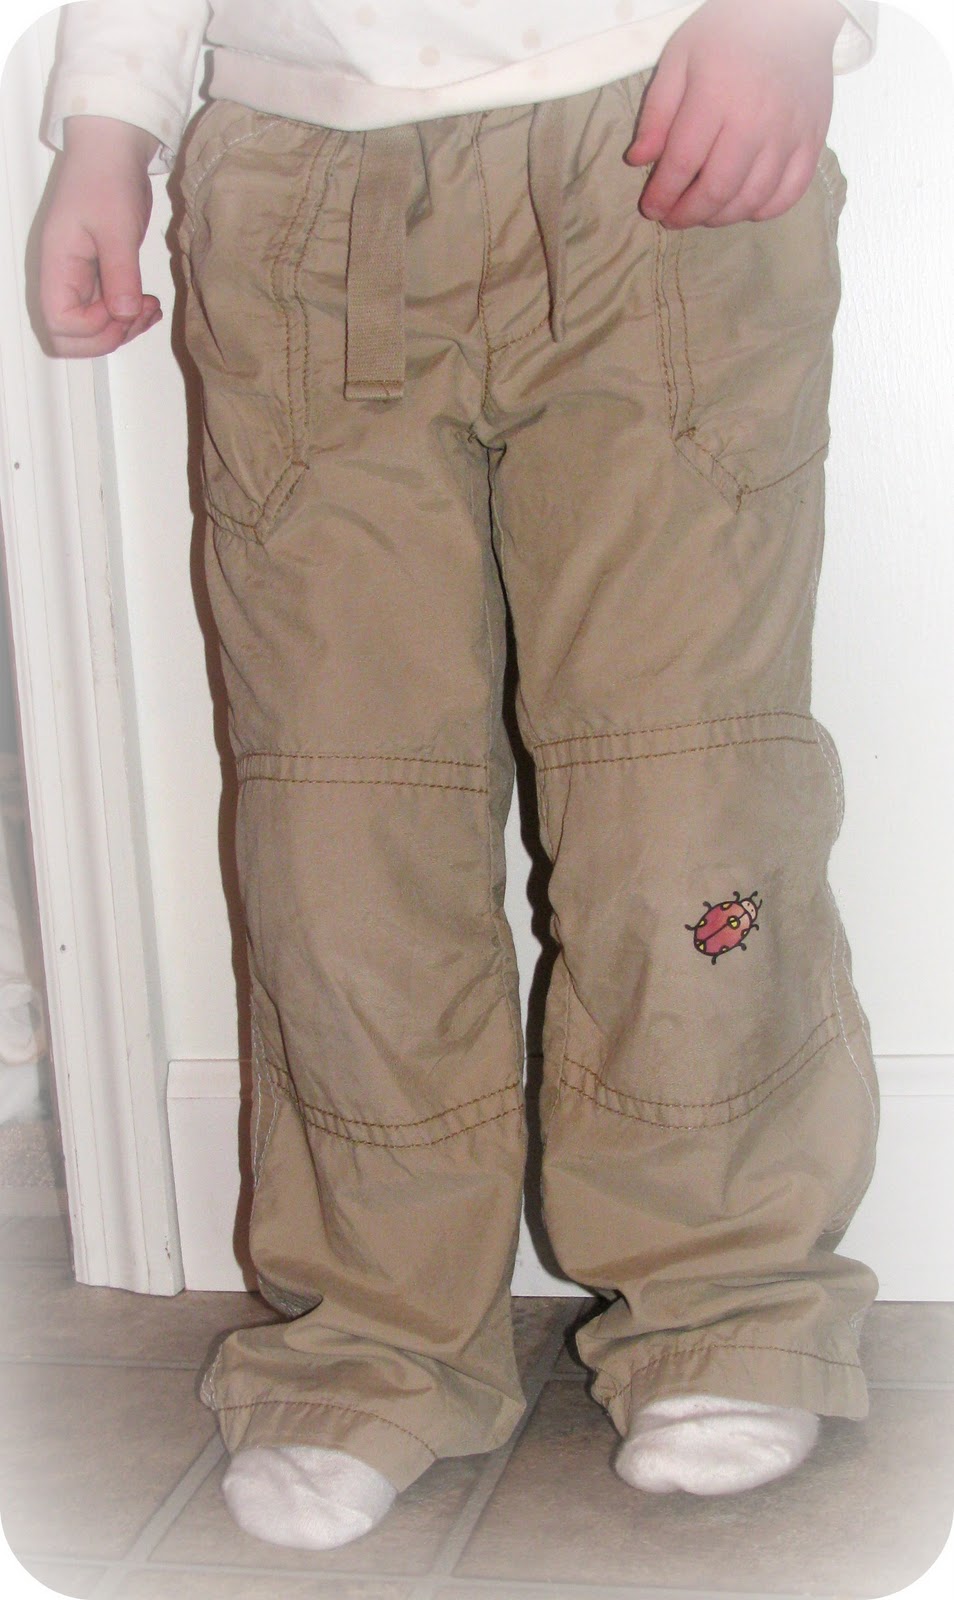
Btw, she's been telling me all day that she looks like daddy. I guess he wears khakis quite a bit. (Without ladybugs, though. Just in case you were wondering.)
Sunday, March 20, 2011


Wednesday, March 16, 2011
Swedish Meatballs
Can you believe I moved to this country without asking either of my parents for their meatball recipe? How can a Swedish girl survive without Swedish meatballs? I guess I could've just emailed them, but for some reason I didn't. Maybe I was really hungry and needed the recipe ASAP. Anyways, I brought a bunch of cook books with me from home and one of them was a cook book I got in 7th grade that's all about meat. So that's the recipe I've been using for 8½ years now. (Mamma,or pappa, there's room in my inbox if you ever find yourselves wondering what to fill your time with.)
Here is the recipe from the Meat Book:
(The recipe is in metric but I'll try to convert it the best I can without giving you measurements like 3.87562973465i47 cups of whatever. Yes, because lower case i's normally appear when converting.)

SWEDISH MEATBALLS
(4 servings)
1 lbs ground beef (or chuck, or something like that)
1/3 cup rolled oats + 1 tbsp potato flour (or 1/3 cup plain bread crumbs)
I use bread crumbs. I think you could use leftover potatoes too.
2/3 cup water, milk or beef stock basically some form of liquid. Some people use heavy cream.
1 egg
1 tsp salt
1/5 tsp black pepper
measure that one without metric cups, ha! (I do have a tiny little thing for that, but does anyone ever use it, I wonder?)
1 tbsp grated raw onion
(If you're making these for Christmas add a little bit of ground allspice. But not too much.)
1. Mix rolled oats, potato flour and liquid, or bread crumbs and liquid. Let sit for 10 min.

2. Add egg, salt, black pepper and onion.
3. Add ground meat. Work it all together, but not too long or it will turn all "thread-y" on you. Well, it is my blog. I can translate how ever I want. Believe me, you do not want your meat thread-y. That would result in dry meatballs.
4. Fry a little piece of meat to make sure it tastes right. You don't want to roll all of your meatballs and fry 'em up just to realize you were way low on the salt. Been there, done that. If you're brave enough you could taste it raw. I'm not!

5. Wet your hands in cold water and roll little meatballs. Don't make them Italian meatball big. Think tootsie pop. Well, maybe not that small.

6. Fry the meatballs in a frying pan until evenly browned.

7. My book says to put them in a pot once they are beautifully browned and keep frying them without added liquid for about 5-10 minutes on low. I put mine in the oven.

If you want gravy, and who doesn't, rinse the frying pan with some water after every turn.

Make sure not to use burnt grease. Pour the drippings in a pan and add beef stock until you have about 1 2/3 cups of liquid. Mix 2 tbsp flour with some cold water. Add to pan and stir. Bring to a boil and let boil for 3-5 minutes. Add a little bit of cream or half and half. You might need some more salt and pepper. And here is the secret to a good gravy. Sugar! A little bit of sugar or jam and it will be delicious. Lingonberry jam is da bomb with this!
I love my meatballs with boiled potatoes, gravy and lingonberry jam. How do you like yours?

The only thing missing is the lingon berries.
I also want to let you know that you don't have to roll the meat into meatballs. This meat is also great for little patties. Try making patties with a small piece of cheese in the center. That is delish!
Tuesday, March 8, 2011
Glutenfree Playdough
When planning for H's birthday party I knew I wanted to make play dough as party favors for the kids, and I wanted it to be sparkly white, just like snow. But if you've ever made homemade play dough you know that it won't come out white just because you don't add food coloring. It turns kind of beige. Not good for imitating snow. (Never play with yellow snow...) And I don't know about you, but I've never seen white food coloring. Does that exist? So I googled white play dough and it turns out that gluten free play dough is as white as it gets. I guess the flours used doesn't turn off white, like wheat does.
My first attempt to gluten free play dough resulted in a sticky mess that smelled like pizza dough. I don't think you want me to share that recipe. But maybe you'd like to know what worked? Are you ready? Here it is...

(sorry, only picture I've got of it.)
Gluten free play dough recipe
1 cup gluten free Bisquick
½ cup salt
1 cup water
½ tbsp cream of tartar
1 tbsp oil
I also added glitter to mine. And of course you can add food coloring and spices or extracts if you'd like.
Mix everything together in a pot. I prefer a non stick one. Heat it up and stir until it turns into one big lump. Knead (I just love warm, fresh play dough) and let it cool down. Then Play!
Subscribe to:
Posts (Atom)